How to make a demo in GarageBand on iPhone and Mac
Published
Make a song demo in GarageBand on iPhone or Mac: tempo, count-in, chord strips, vocals, drums and export, with a worked verse–chorus example at 96 BPM.
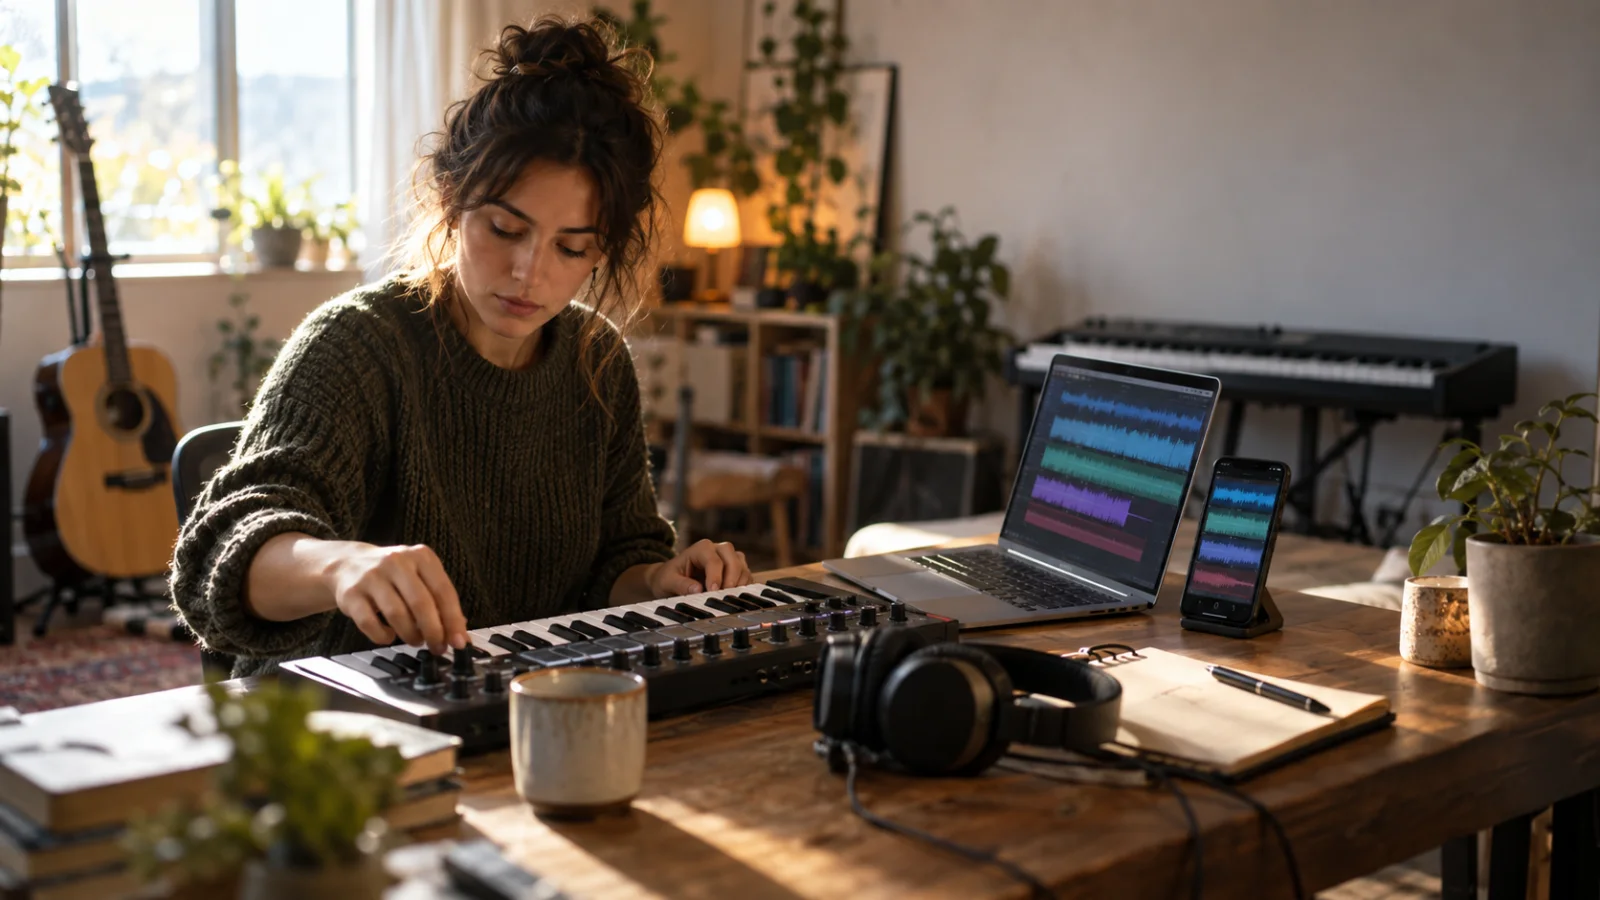
To make a demo in GarageBand, work in this order, on iPhone or Mac:
- Set the tempo and key before recording anything.
- Turn on the count-in and the metronome.
- Record a bed: chords on the chord strips, or a loop.
- Sing a guide vocal over the whole song.
- Record the real vocal in two or three takes.
- Add one extra part: drums or bass, not five.
- Balance quickly: vocal on top, bed underneath.
- Export an audio file and keep the project.
Plan on about 45 minutes for a verse and chorus. The goal is a recording that lets someone hear the song, not a finished production.
| Step | GarageBand for iPhone | GarageBand for Mac |
|---|---|---|
| Tempo and key | Settings › Tempo, Key Signature | Project Chooser › Details |
| Count-in and click | Settings › Metronome and Count-in | Count-in and Metronome buttons |
| Chord bed | Keyboard or Guitar with chord strips | Software instrument, audio track or Apple Loops |
| Vocal | Audio Recorder track | ”Mic or Line” audio track |
| Extra part | Smart Drums or Bass | Drummer track |
| Export | My Songs › Share › Song | Share › Export Song to Disk |
Hear the target before you start
These two examples are synthesized in your browser to show the sound you are aiming for. They are teaching sketches, not GarageBand recordings.
After a two-second count-in, C–G–Am–F plays twice from 0:02 to about 0:22: keys, bass and a plain pop beat, one chord per bar. At 96 BPM a bar lasts 2.5 seconds. Steady, simple and in time is all a demo bed needs.
The verse (0:02–0:12) sits on Am–F–C–G with a low melody and no drums. At 0:12 the chorus arrives on C–G–Am–F, higher, with drums. One part that enters in the chorus is often enough to make the structure obvious.
Plan the song in five minutes
The section length depends on the form, so decide it first. The worked example below uses this plan in C major at 96 BPM:
| Section | Bars | Time | Chords, one per bar |
|---|---|---|---|
| Intro | 1–4 | 0:00–0:10 | C–G–Am–F |
| Verse 1 | 5–12 | 0:10–0:30 | Am–F–C–G ×2 |
| Chorus 1 | 13–20 | 0:30–0:50 | C–G–Am–F ×2 |
| Verse 2 | 21–28 | 0:50–1:10 | Am–F–C–G ×2 |
| Chorus 2 | 29–36 | 1:10–1:30 | C–G–Am–F ×2 |
| Ending | 37 | 1:30–1:33 | C, held |
The verse uses the chorus chords (I–V–vi–IV) starting on Am, which sounds darker. Rehearse the chorus with the chord progression player set to C–G–Am–F at 96 BPM, find your own tempo on the tap-tempo metronome, or map a different form in the song structure planner.
Make a demo in GarageBand on iPhone, step by step
For a single voice-and-guitar take, the guide to recording a song on your iPhone covers Voice Memos and the Audio Recorder. Here you build several tracks that play together. Still choosing an app? See the comparison of iPhone apps for songwriting and recording.
1. Choose Tracks view, not Live Loops
The Add Song button in the My Songs browser opens the Sound browser and its Touch Instruments. Tapping Live Loops above it opens the Template browser: a grid of cells you trigger like a DJ, good for loop-based ideas. A song with verses and choruses is easier in Tracks view, a timeline with one row per instrument. You can record a Live Loops performance to Tracks view later.
2. Set tempo, key and count-in first
Tap the Settings button in the control bar. In Tempo, tap the tempo bar or use the arrows until it reads 96. In Key Signature, choose C major. In Metronome and Count-in, turn on the Count In switch. The Metronome button in the control bar switches the click on and off.
Set the tempo now: Touch Instrument recordings and Apple Loops follow later tempo changes, Audio Recorder recordings do not.
3. Make the section long enough
A new song’s first section is 8 bars, and recording stops at its end. Tap the Song Section button at the right edge of the ruler, then the Inspector button next to the section. Turn Automatic off, set 37 bars with the arrows next to Manual and tap Done. Multi-Take Recording also needs Automatic off.
4. Record the chord bed on the chord strips
Tap the Browser button, choose the Keyboard or the Guitar and tap the Chord Strips button. The App Store listing calls these Smart Instruments; Apple’s guide notes that the chord strips, once exclusive to the Smart Keyboard, now work with every keyboard sound. If a chord you need is missing, tap Settings › Edit Chords.
No playing skills needed: tap the Controls button and turn the Autoplay knob to a numbered position. One tap on a strip plays a pattern until you tap the next chord. Tap Record, wait for the count-in and change chord on each bar line, following the plan. Wrong chord? Tap Undo and go again. Prefer loops? In Tracks view, the Loop Browser button opens Apple Loops, which extend to the end of the section.
5. Guide vocal, then the real vocal
Tap the Tracks button (it appears after your first Touch Instrument recording), then the Add Track button below the track headers, and choose the Audio Recorder. The In level slider shows your input: if it turns red, drag it down or sing softer. Test with the loudest line of the chorus. Use wired headphones so the bed does not leak into the microphone. With an external microphone or headset, the Monitor button lets you hear yourself.
Sing a guide vocal through the whole song, humming where the lyric is unfinished. It checks the form and the key. Then record the real vocal on a second Audio Recorder track: in Track Controls › Track Settings › Recording, turn on Multi-Take Recording, and each pass from the start of the section becomes a take. Double-tap the region, tap Takes and pick the best. Mute the guide with the Mute button in its track header.
Apple also advises Airplane Mode, no alarms scheduled and no plugging or unplugging during a take. For microphone distance and room sound, read how to record vocals at home.
6. Add one extra part
Tap the Browser button, swipe to the Drums and tap Smart Drums. Drag drums into the grid: farther right plays a more complex part, higher plays louder. The Dice button builds a groove for you. Move the playhead to bar 13, tap Record and stop at bar 21; repeat from bar 29. The verses stay without drums, as in the example above. The alternative is a bass line: the Bass uses chord strips and Autoplay too. Choose one.
7. Balance and export
Drag a track icon to the right to show each track’s Mute, Solo and Volume slider. Set the vocal first, bring the keys up until the chords are clear under it, then the drums. A touch of the Reverb Level slider in Track Controls is plenty.
To export, tap the Navigation button, then My Songs. Touch and hold the song, tap Share, then Song. Choose the audio quality, fill in the artist, composer and title, tap Share, then Save to Files. Project instead of Song sends the editable project, for example to finish on a Mac.
Make a demo in GarageBand on Mac
Same order, more room, and Drummer, a virtual drummer that plays the whole song.
- Create the project. Choose File › New, then Empty Project. Click the Details triangle: Tempo 96 (or click Tap Tempo several times), C and Major in the Key Signature menu, your microphone in the Input Device menu. Click Choose.
- Mark the sections. Choose Track › Show Arrangement Track and click the Add Marker button (+) once per section. Markers are 8 bars; drag the right edge to resize and click the name to rename. New projects are 32 bars long, so drag the end-of-project marker past bar 37.
- Record the bed. Choose Track › New Track or click the Add Track button. Pick “Mic or Line” for your guitar or piano, or a software instrument. Without a MIDI keyboard, Window › Show Musical Typing (Command-K) plays it from the computer keyboard. Apple Loops (View › Show Loop Browser) match the project tempo and key.
- Set the vocal track. Add a “Mic or Line” track. Click the Smart Controls button (B): in Recording Settings, choose the Input and set the Record Level slider, or select Automatic Level Control. Turn on the Monitoring button to hear yourself on headphones.
- Count in and record takes. Click the Count-in and Metronome buttons. Drag in the top part of the ruler to set a cycle area over the chorus, press R and sing several passes; after the second, GarageBand makes a take folder. Click the number in its corner to choose a take. The Space bar stops.
- Add Drummer. In the New Track dialog, select Drummer and click Create. Because the project has arrangement markers, you get one Drummer region per marker, with the same names and lengths. In the Library, pick the Songwriter genre and a drummer; double-click a region to open the Drummer Editor and make the verses softer and simpler.
- Balance and export. Use the Volume slider in each track header; the level meter turns red when a track clips. Then choose Share › Export Song to Disk, type the name in Save As, select AAC, MP3, AIFF or WAVE and a Quality setting, and click Export. Silence at the start and end is trimmed.
Started on iPhone? Share the song as a Project, save it to the GarageBand for iOS folder in Files or iCloud Drive, and open it on your Mac to add Drummer or redo the vocal.
Worked example: “Porch Light” in C at 96 BPM
A verse–chorus demo with four tracks, planned for GarageBand on iPhone. Chorus: Leave the porch light on for me / I know the way, I just need to see. Verse 2 is unfinished, so the guide vocal hums it.
| Track | What you record | Bars | Time |
|---|---|---|---|
| Planning | Form, tempo, 37-bar section | — | 5 min |
| 1 Keys | Chord strips with Autoplay | 1–37 | 10 min |
| 2 Guide vocal | One pass, verse 2 hummed | 1–37 | 5 min |
| 3 Lead vocal | Three takes, keep the best | 1–37 | 15 min |
| 4 Smart Drums | Choruses only | 13–20, 29–36 | 5 min |
| Balance and export | Vocal on top, Share › Song | — | 5 min |
About 45 minutes for a 1:33 demo. Two decisions keep it short: the section length is set before the first note, and the arrangement stops at one extra part. The file answers one question: does the chorus work in this key, or should it move down?
What makes a demo useful to other people
- A clear vocal: the words are understandable on the first listen. If the keys cover them, turn the keys down.
- An audible structure: a short intro and sections that change enough to be found. “The chorus starts at 0:30” should be easy to hear.
- No over-production: layers and heavy effects make people judge the sound instead of the song.
Unsure how finished it should be? Read what a demo is in music, and before sending it, fill in the demo feedback brief. For more gear and a fuller arrangement, see how to record a demo at home without expensive gear.
Export: formats and file names
- To send: AAC or MP3 on Mac; a lower audio quality on iPhone for a smaller file.
- For someone who will keep working on it: AIFF or WAVE on Mac, the highest quality on iPhone, plus the project.
- Always keep the project. The audio file is a snapshot; the project is where you fix the chorus next week.
Name each export by song, version and change: Porch Light – demo v2 – chorus lower – 96bpm C. Avoid “final”. The song file name generator keeps names consistent.
Where Zoundroom fits: GarageBand records, Zoundroom keeps the song
GarageBand records and arranges. Zoundroom keeps the song between sessions: every version of the demo, the lyric and your notes in one project. GarageBand’s Note Pad holds one set of notes inside one song file; by “demo v3” you need a place that keeps all the versions together.
- Create a project with the song’s title.
- Import the GarageBand export into it, next to the earlier versions.
- Insert it in the lyric note and write under it what changed and what is next: “0:30 chorus: try a tone lower.”
- Record quick ideas directly: tap record and the take is saved in the project; record inside the note and the audio lands at the cursor, under its line.
- Invite your co-writer or band. Timestamped comments on recordings come with Pro and Band.
The same account opens projects and recordings on iPhone, Android and the web. Zoundroom is not a DAW: it does not mix, master, add effects, correct pitch or record multitrack, so that stays in GarageBand. See how recording and importing works.
Share the demo for feedback
Send one file, one question and a time: “Chorus at 0:30. Is the key too high?” Check it on headphones and on a phone speaker first; if the words vanish on the phone, raise the vocal. Ask two or three people the same question. Sending it to a label or a producer? Add two lines with the title, what you need from them and how to reach you. The guide on how to send a demo to a record label has the full email and how to find each label’s rules.
Common problems and how to fix them
| Problem | Likely cause | Fix |
|---|---|---|
| Your voice lands late | Bluetooth headphones: 34–300 ms of delay, against 5–10 ms wired, according to BandLab’s help center | Wired headphones |
| Crackles on loud notes | Clipping | Lower the In level slider (iPhone) or Record Level (Mac) until nothing turns red |
| Recording stops at bar 9 | 8-bar default section | Song Section › Inspector › Manual |
| An imported backing is cut short | Section not on Automatic | Set Automatic before importing |
| The click is in the export | Metronome leaking from speakers into the microphone | Headphones, or metronome off or at zero while recording |
| The vocal drifts after a tempo change | Audio recordings ignore tempo changes | Set the tempo before recording audio |
| Mac playback stops at bar 33 | 32-bar project end | Drag the end-of-project marker |
| A chord is missing from the strips | Default chord set | Settings › Edit Chords |
Frequently asked questions
Is GarageBand free?
Yes. It is free on the App Store for iPhone and iPad (iOS 26.0 or later) and for Mac (macOS 15.6 or later). Extra instruments, loops and sound packs are free downloads from the Sound Library.
Can I make a demo on an iPhone only?
Yes. Everything in the iPhone section works on the phone alone, with up to 32 tracks per song. Recording several live sources at the same time is the exception: it requires a compatible audio interface.
How do I export a GarageBand song as MP3 or WAV?
On Mac, choose Share › Export Song to Disk and select MP3 or WAVE (AAC and AIFF are the other options). On iPhone, Share › Song offers audio quality levels, and Apple’s guide does not list the formats. If you need exactly MP3 or WAV, open the project on a Mac and export it there.
Is there GarageBand for Windows or Android?
No: Apple offers it only for iPhone, iPad and Mac. A free alternative is BandLab, which runs in a current Chrome, Firefox or Chromium-based browser (so on Windows too), on Android 8.2 and above and on iOS 16.0 and above. It needs an internet connection.
Sources
All pages checked on September 26–27, 2026.
- Apple Support, GarageBand User Guide for iPhone (version 2.3.18): Create and save songs, Get started, Use the control bar, Change song settings, Extend a song with song sections, Play the Keyboard, Play the Guitar, Play the Bass, Add custom chords, Record sounds with the Audio Recorder, Record Touch Instruments, Use the track headers, Use the track controls, Play the Smart Drums, Add Apple Loops, Import audio and MIDI files, Live Loops overview, Record a Live Loops performance, Use the Note Pad and Share songs.
- Apple Support, GarageBand User Guide for Mac (version 10.4.14): Create and save projects, Add arrangement markers, Set the project end point, Create tracks, Play software instruments, Loop Browser, Set the key and scale, Before recording audio, Use the metronome, Record to an audio track, Record multiple audio takes, Choose and delete takes, Create a Drummer track, Choose genres and drummers, Set track volume levels, Glossary and Export songs to disk or iCloud.
- Apple Support, If GarageBand isn’t working on your Mac (File › New › Empty Project).
- App Store: GarageBand for iPhone and iPad (free, iOS 26.0 or later, Smart Instruments and chord strips, up to 32 tracks, multitrack recording with an audio interface) and GarageBand for Mac (free, macOS 15.6 or later).
- BandLab Help Center: Supported Platforms and System Requirements and Fixing Bluetooth Distortion and Latency.