
How to sing and play guitar at the same time: a 7-day plan
Published
Make your strumming automatic with a metronome, speak the lyric over it, then sing. Step-by-step exercises, a 7-day plan and three practice songs in open chords.
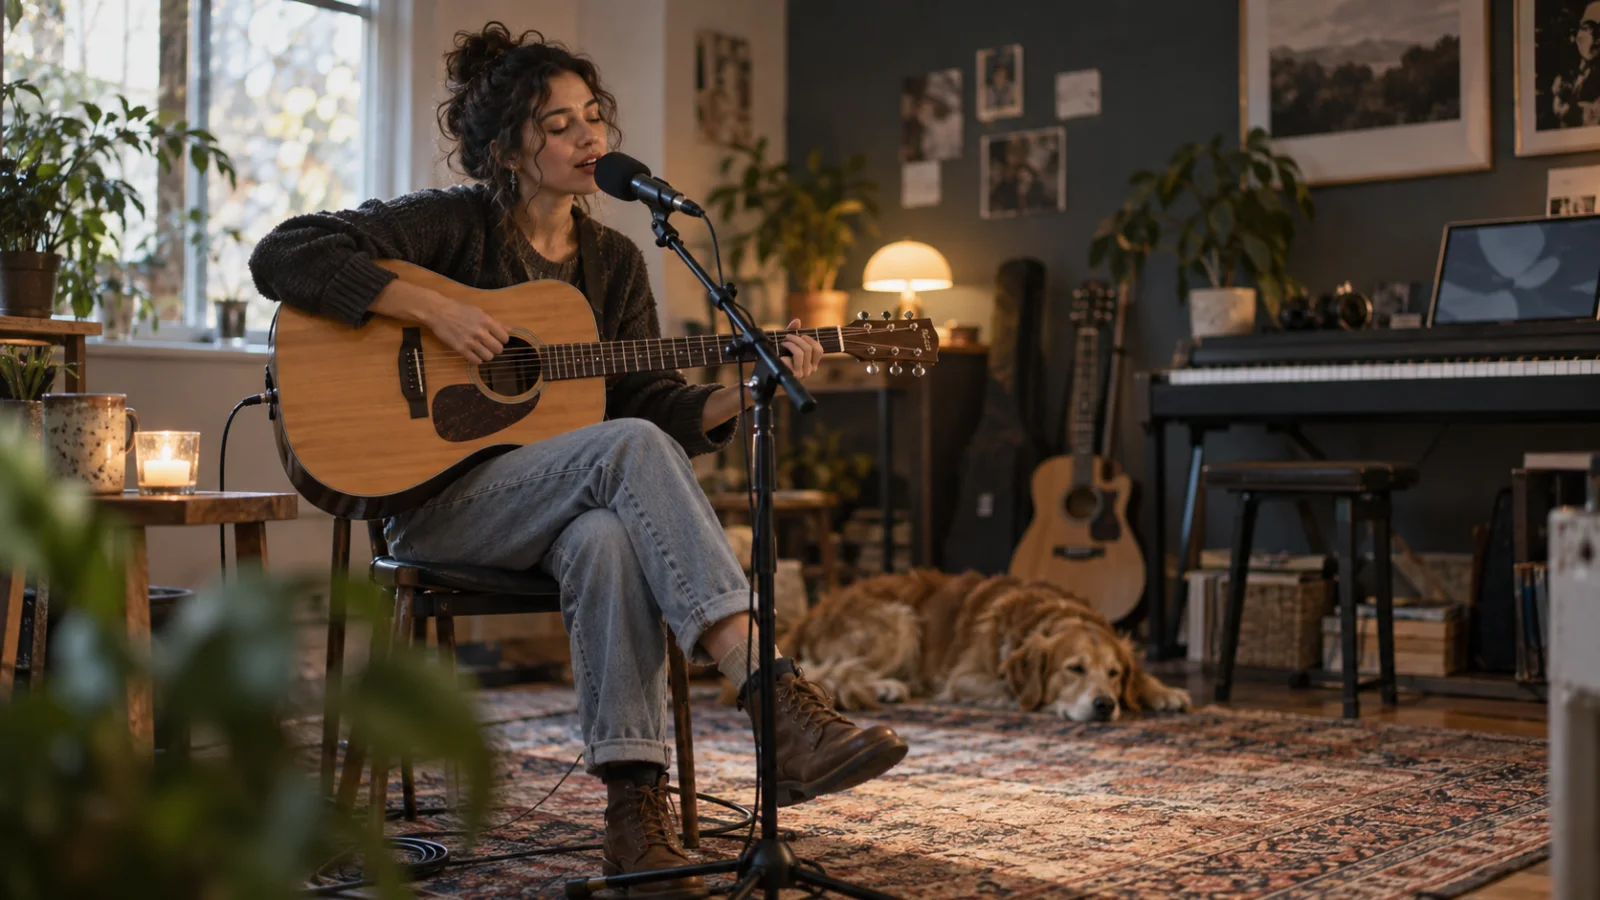
To sing and play guitar at the same time, make the guitar part automatic first, then add your voice in layers: spoken words, then words on one note, then the melody. Your strumming hand has to keep going on its own while your attention goes to the lyric, so you drill the hand with a metronome until you can talk over it without stopping. Then you learn exactly where each word falls against the strums. The order that works:
- Strum one simple pattern with a metronome at 60–70 BPM until you can count out loud over it.
- Speak the lyric in rhythm over the strumming, with your foot tapping the beat.
- Mark the words that land on beat 1, where the chords change.
- Sing on one note, then sing the melody, and simplify the strumming wherever the voice needs room.
- Record one take a day and fix the spot where your hand stops.
With 15–20 minutes a day, the 7-day plan below takes you from two chords to a song with pickups and gaps between the strums.
Why singing and playing at the same time feels impossible at first
Two jobs are competing for your attention. In Fitts and Posner’s classic model of motor learning, a skill moves through a cognitive stage (you think through every move), an associative stage (it works, with effort) and an autonomous stage, where the mental load is so low that attention is free for a second task, as a Human Kinetics text on skill instruction explains. Until your strumming reaches that last stage, the lyric has nowhere to go.
The second problem is rhythm: the hand plays a steady pattern, while the lyric follows speech, starting before the beat and landing between strums. In a 2022 study in Scientific Reports, Mårup, Møller and Vuust had 60 musicians and non-musicians perform a rhythm with one body part while keeping the beat with another. Precision was better when the rhythm went to a part higher in the hierarchy they found (left foot, right foot, left hand, right hand, voice) and the beat to a lower one; voicing a rhythm while clapping the beat was markedly easier than the reverse. The study didn’t use guitars, but the lesson transfers: let your foot and strumming hand hold the beat, and let your voice carry the rhythm. Tapping your foot isn’t a nervous habit; it’s your anchor.
The typical symptoms: the hand freezes when a word starts, copies the rhythm of the lyric or speeds up in the chorus, and your voice goes quiet whenever you look at the fretboard. Each step below targets one of them.
Step 1: make the strumming automatic with a metronome
Start with two open chords you can change between without looking, such as G and D, and one strum per beat: four downstrokes per bar. Set the tap tempo metronome to 60 BPM and alternate one bar of G and one bar of D. Count “1, 2, 3, 4” out loud as you go, and tap your foot on every beat.
When that’s steady, switch to the folk-pop pattern from the guide to writing a song on guitar: D - D U - U D U (D down, U up), counted “1 & 2 & 3 & 4 &”. The hand moves down on every number and up on every ”&”, passing over the strings on each ”-”. It never stops, it only decides whether to hit, and that constant motion is what leaves room to sing.
Two habits make the chord changes land on time:
- Leave the old chord early. On the last ”&” of the bar, lift your fretting fingers and let that upstroke hit the open strings while your fingers travel to the next shape. The new chord lands on beat 1, and at tempo nobody hears the open strings.
- Keep your posture open. Hold the guitar high enough, on the strap or on your leg, that you can sit or stand upright. Hunching over the fretboard squeezes the voice.
Then run the talk test: play the pattern for two minutes while you count backwards from 50 out loud or describe the room you’re in. If the hand stops or changes pattern, drop 10 BPM and try again tomorrow; if it survives, you’re ready for words. Tune first with the online guitar tuner or the guide to tuning a guitar: an out-of-tune guitar pulls your voice off pitch.
Step 2: speak the lyric over the strumming
Before you sing, speak the words in the rhythm you’ll sing them, like reading a poem over a band. Speaking takes pitch out of the equation, so all your attention goes to timing. Then go up one layer at a time:
- Speak the lyric in rhythm.
- Chant it on one note, the root of each chord (G over G, D over D).
- Hum the melody while you play.
- Sing the melody with the words.
If a layer breaks the hand, go back one. You can also let a tool play the guitar at first: the chord player, set to G and D at 70 BPM, strums the first practice song’s chords while you sing with your hands free, so your ear learns where the changes fall before your hands have to make them.
Step 3: map each word against the strums
Chord changes are where most people break, so find out exactly which syllable lands on each one. Here is the first line of the third practice song below, over the folk-pop pattern. Each column is an eighth note, and the chord changes on beat 1 of each bar.
Count: (4&) |1  &  2  &  3  &  4  &  |1  &  2  &  3  &  4  &
Chord:      |G                       |C
Strum:      |D     D  U     U  D  U  |D     D  U     U  D  U
Words: And  |if    the   night won't |let   us    sleep ~~~
What to notice:
- “And” comes before the bar. It’s a pickup, sung on the last ”&” of the bar before while the hand plays its upstroke. The voice starts early; the hand changes nothing.
- “night” lands on beat 3, where the pattern skips a strum. The hand passes over the strings and the voice fills the gap. Beginners often add a strum there without noticing.
- “let” is the anchor of the second bar. The change to C and the stressed syllable arrive together: once “let” means C, the change finds itself.
- “sleep” is held across several strums while the hand keeps moving.
Practice it anchors first. Strum the two bars and say only the words on beat 1: “if… let…”. Then add beat 3: “if… night… let… sleep”. Then say every word. Mark your own songs the same way: write each chord above the syllable that falls on the change, as the chord sheet maker does, and underline the anchors. The guide to lyric sheets and chord sheets covers the notation.
Step 4: add the melody and simplify the guitar where the voice needs room
When the words sit, add the melody. Any line that still breaks gets a simpler guitar part, not more willpower: strum once per bar and let the chord ring under that line, then return to the full pattern on the next one.
If the melody strains at the top, move the key instead of pushing. A capo lets you play the same chord shapes in a higher key, and each fret on a guitar is one semitone. The capo chart shows which shapes give which key, and what key should I sing in suggests keys from your range: it opens with a sample range, C3–G4, to replace with yours from the vocal range test. A capo only raises the key, so if G shapes are already too high, switch to a lower family, such as D shapes, and place the capo from there.
Plan your breaths in the bars where the lyric rests, as breathing exercises for singing explains. If you drift flat while you play, strum more softly so you can hear yourself; how to sing in tune has the pitch exercises, and voice types and vocal range explains where your voice feels easy.
A 7-day plan to sing and play at the same time
Fifteen to twenty minutes a day works better than one long session: the hand needs repetition and the voice needs rest. Stop if your voice gets hoarse or tired; the NIDCD advises against singing in that state.
| Day | Guitar | Voice | Move on when |
|---|---|---|---|
| 1 | G–D, four downstrokes per bar, 60 BPM | Count out loud, then describe the room | Two minutes without the hand stopping |
| 2 | G–D at 70 BPM, eyes on a point on the wall | Speak level 1, then sing it | Every change lands on beat 1 |
| 3 | G–Em–C–D, folk-pop pattern, 60 BPM | Count backwards from 50 | Two minutes with the pattern intact |
| 4 | Same pattern at 70–76 BPM | Speak level 2: anchors, then every word | No strum lost where a line starts |
| 5 | Same | Sing level 2 on one note, then with a melody; record a take | The take has no gaps before the lines |
| 6 | G–C–D–C, same pattern, 80–84 BPM | Speak level 3 with its pickups over the chord player, then play it yourself | Pickups start while the hand keeps going |
| 7 | Same, then faster, toward 112 BPM | Sing level 3; record two takes | Two full takes without stopping |
Start each day with two minutes of the previous day’s exercise. If a day’s check fails, repeat the day: the plan is an order, not a deadline.
Three practice songs in open chords
These three short songs were written for this guide, so you can practice without anyone else’s lyrics. Each level adds one difficulty. Every chord changes on the syllable under it and lasts one bar. If a symbol above the words is new to you, see how to read chord charts. Sing them to a simple tune of your own, built from the notes of each chord, or chant them on one note.
Level 1: G and D, one strum per beat (60–70 BPM)
One syllable per downstroke, so voice and hand move together:
G                  D
Sun on the stairs, nowhere to be,
G                D
coffee gone cold and fine by me,
G                   D
phone on the shelf, let it ring out,
G               D                 G
nothing to fix, nothing to doubt.
Level 2: G, Em, C and D with the folk-pop pattern (70–76 BPM)
Now some words fall between strums, and every line starts right on a chord change. To hear the loop first, open the chord player with G–Em–C–D at 76 BPM.
G                    Em
I drove out past the water tower,
C              D
counting every yellow line,
G               Em
you were in the passenger seat,
C              D
singing half a beat behind.
Level 3: G, C, D and C with pickups (80–112 BPM)
Every line starts before the bar, on the last ”&”, as in the grid above:
    G                  C
And if the night won't let us sleep,
      D               C
we'll drive until the morning,
    G              C
and every light we leave behind
     D               C
will blink without a warning.
This level uses the same loop as the example below: G–C–D–C, strummed at 112 BPM, twice.
What to listen for: the count-in runs from 0:00 to 0:02, the first loop ends at about 0:11 and the second at about 0:19. Say “And” at the very end of the count-in, so that “if” lands with the first G. Speak the whole song over the example first, then strum along, and only then sing. If 112 BPM is too fast, the chord player at 84 BPM plays the same loop more slowly.
After these three, move on to songs you know by heart: a lyric you don’t have to remember leaves more attention for your hands. Choose ones with two to four open chords, about one chord per bar and a moderate tempo, and put the capo where the melody sits comfortably. Once your hand no longer needs your attention, you can think about how you sound: the guide on how to find your singing voice has a section for people who sing their own songs.
Common problems and how to fix them
| Problem | Likely cause | Fix |
|---|---|---|
| The hand freezes when a line starts | The strumming isn’t automatic yet | Go back to speaking the words; drop 10 BPM |
| The hand copies the rhythm of the words | The voice is leading the hand | Tap your foot on every beat and practice anchors only |
| You speed up in the chorus | Excitement and no reference | Keep the metronome on, record, compare verse and chorus |
| The new chord arrives late | Fingers leave the old chord on beat 1 | Lift them on the last ”&” and strum the open strings |
| A chord change cuts a word | The change is mapped to the wrong syllable | Write the chord above the anchor syllable |
| You sing flat while playing | Guitar out of tune, or strumming too loud to hear yourself | Tune first and strum more softly |
| You run out of air | No breath planned | Breathe in the bars where the lyric rests |
Record yourself to check your timing
While you play, you’re too busy to notice the gap before each line; a recording isn’t. Put your phone on a stand about a meter away and record one run-through a day. Listen for three things: whether the strumming stumbles where a line starts, whether the tempo creeps up in the chorus, and whether the anchor words land with the chord changes. Make the first problem you hear tomorrow’s warm-up. For a take worth keeping, how to record demos with your phone covers placement and settings.
Where Zoundroom fits: every practice take under the chords
Zoundroom won’t count your strums, tune your guitar or tell you whether you’re in time: that listening is yours, with the metronome and your ears. What it does is keep the song in one place. Each song is a project with its recordings, lyrics, notes and files, so the lyric with its chord marks and underlined anchors lives in the song’s note. At the end of a session, record the run-through inside that note with the app on your phone; the audio lands at the cursor, right under the words you just sang. Type one line below it, such as “Day 5, 76 BPM: hand stopped on ‘counting’, lift the fingers on the last &”. The next day’s take goes under that one, so on day 7 you can play day 2 and hear the difference. A take from another app can be imported into the project too, and the same account opens the project and its recordings on iOS, Android and the web. Zoundroom isn’t a DAW: it doesn’t mix, add effects or correct pitch. Your next step: open the song you’re practicing, record today’s take and write one line about where your hand stopped.
Frequently asked questions
Why is it so hard to sing and play guitar at the same time?
Two tasks compete for your attention, and they don’t share a rhythm: the hand keeps a steady pattern while the voice follows speech. Once the strumming is automatic, your attention is free for the lyric, which is why the order is hand first, then spoken words, then melody.
How long does it take to learn to sing and play at the same time?
It depends on how automatic your chords already are. If you can change between open chords without looking, a simple song over one pattern is a realistic goal for a week of short daily sessions. Each new pattern starts the process again, only faster.
Should I learn the guitar part or the vocal part first?
The guitar part, until it passes the talk test. But know the melody too: hum it over the chord player before you combine the two, so your voice isn’t still learning while your hands are.
Do I need to look at the guitar while I sing?
Only for the hardest changes. Practice them with your eyes on a point on the wall: looking down bends your neck and squeezes your voice. If a change needs a glance, take it in the bar before.
Can I fingerpick and sing at the same time?
Yes, with the same method. In a basic alternating-bass pattern the thumb plays on every beat, so it does the foot’s job: keep the thumb steady, speak the lyric over it, and add the fingers once the thumb alone survives the talk test.
Sources
- Signe Hagner Mårup, Cecilie Møller and Peter Vuust, “Coordination of voice, hands and feet in rhythm and beat performance,” Scientific Reports, 2022: 60 right-handed participants (20 professional musicians, 22 amateurs, 18 non-musicians); hierarchy of left foot, right foot, left hand, right hand and voice; more precise performance when the rhythm is done by a higher body part than the one keeping the beat; voicing a rhythm while clapping the beat markedly easier than the reverse. Checked September 28, 2026. nih.gov
- Jeffrey J. Huber, Applying Educational Psychology in Coaching Athletes, excerpt “Understanding motor learning stages improves skill instruction,” Human Kinetics: Fitts and Posner’s cognitive, associative and autonomous stages; minimal cognitive demand in the autonomous stage frees attention for secondary tasks. Checked September 28, 2026. humankinetics.com
- Wikipedia, “Capo (musical device)”: a capo raises the pitch so you can play in a different key with the same fingerings as open chords. Checked September 28, 2026. wikipedia.org
- Wikipedia, “Fret”: on guitars, each fret represents one semitone. Checked September 28, 2026. wikipedia.org
- NIDCD (National Institutes of Health), “Taking Care of Your Voice”: avoid speaking or singing when your voice is hoarse or tired. Checked September 28, 2026. nih.gov